Monday 3 December 2012

Install SQL Server 2012 Using SysPrep


Install SQL Server 2012 Using SysPrep

When installing SQL Server, the Advanced page of the SQL Server Installation Center has two options for preparing a SQL Server install. Using these options allows us to prepare a stand-alone instance of SQL Server and to complete the configuration at a later time. SQL Server SysPrep involves a two-step process to get to a configured stand-alone instance of SQL Server:
  • Image preparation of a stand-alone instance of SQL Server
  • Image completion of a prepared stand-alone instance of SQL Server
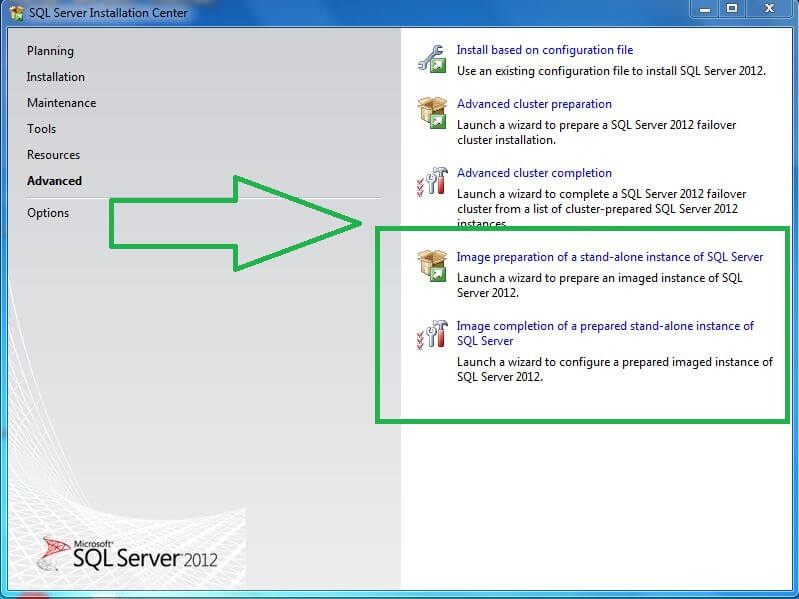
The Advanced Page of the Installation Center has two options

Image Preparation

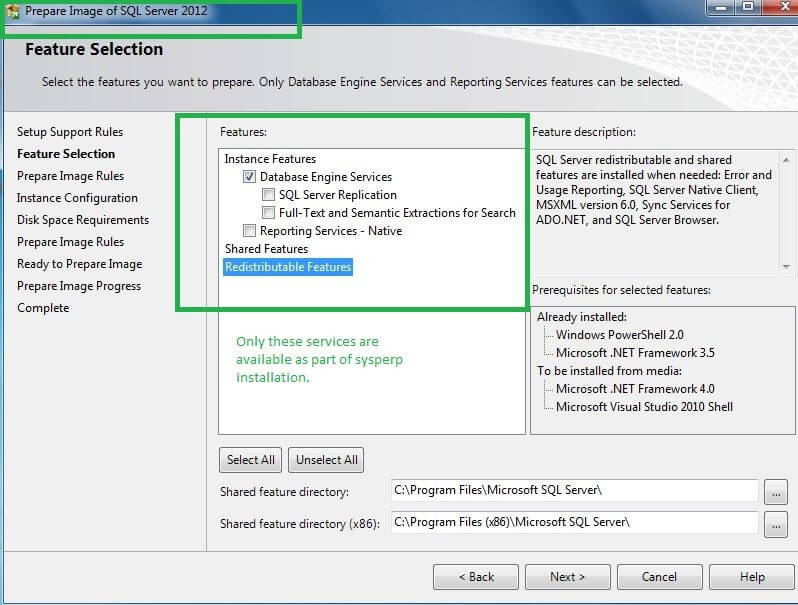
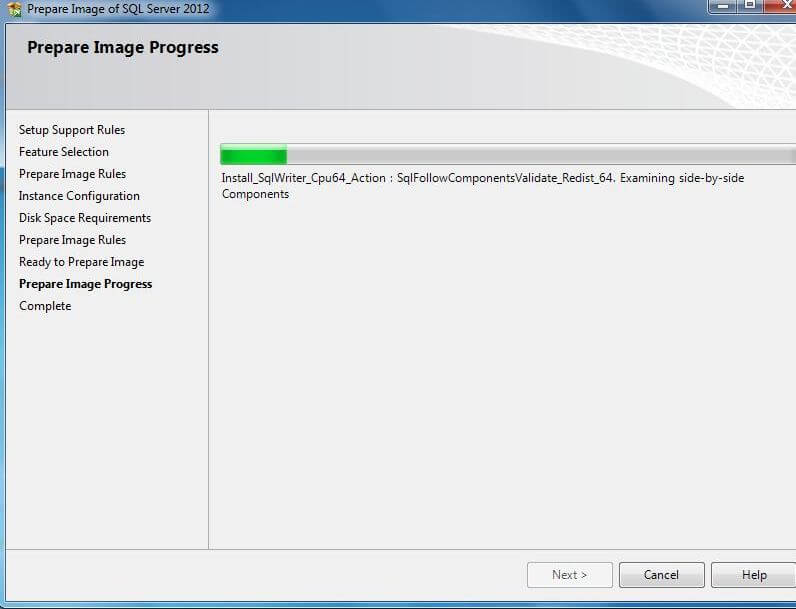
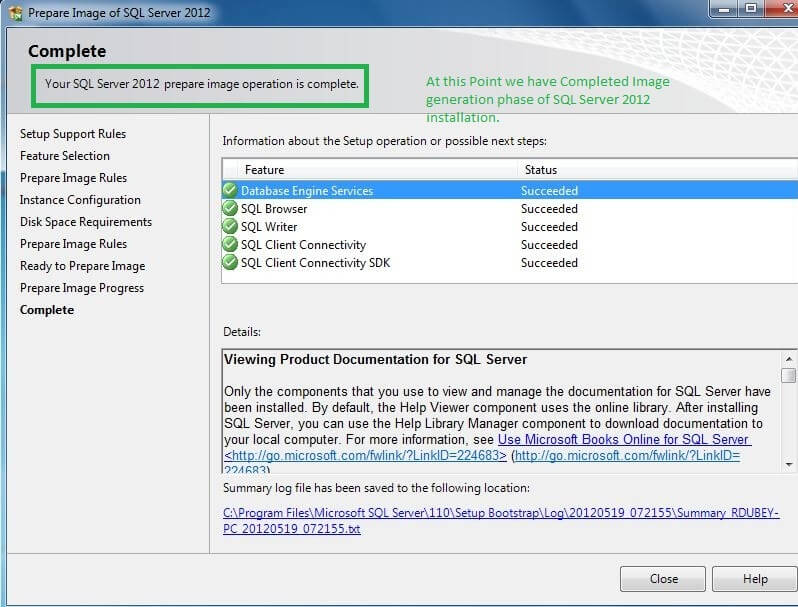
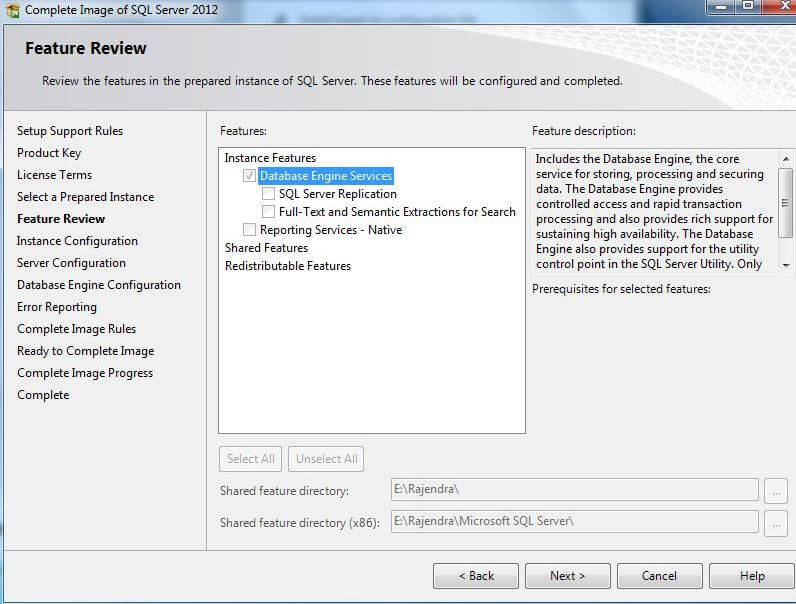
This step stops the installation process after the product binaries are installed, without configuring the instance of SQL Server that is being prepared. The only features that can be selected during SysPrep installations are the Database Engine and Reporting Services Native Mode. SQL Server Browser and SQL Server Writer are automatically prepared. These are then completed when you complete the SQL Server install by using the Complete Image step. After the completion of the image preparation step, SQL Server is not in a state that it can be used.

Image Completion

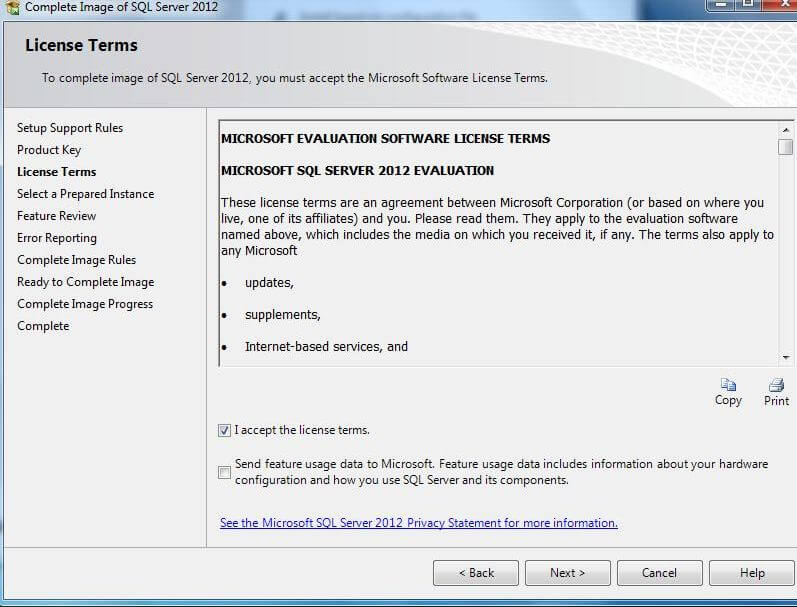
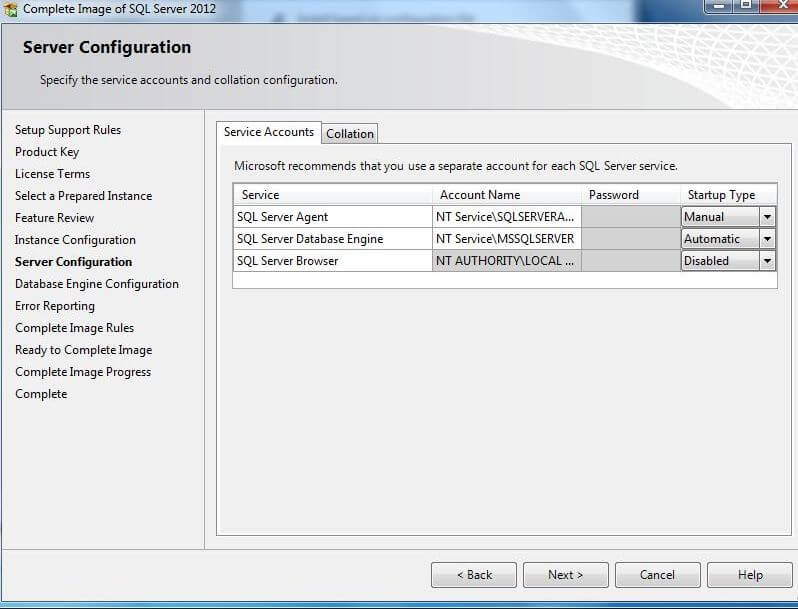
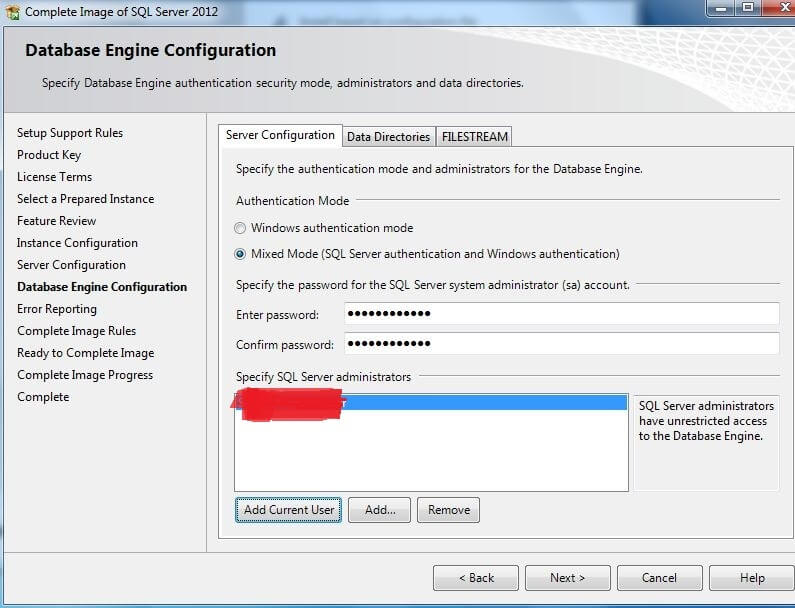
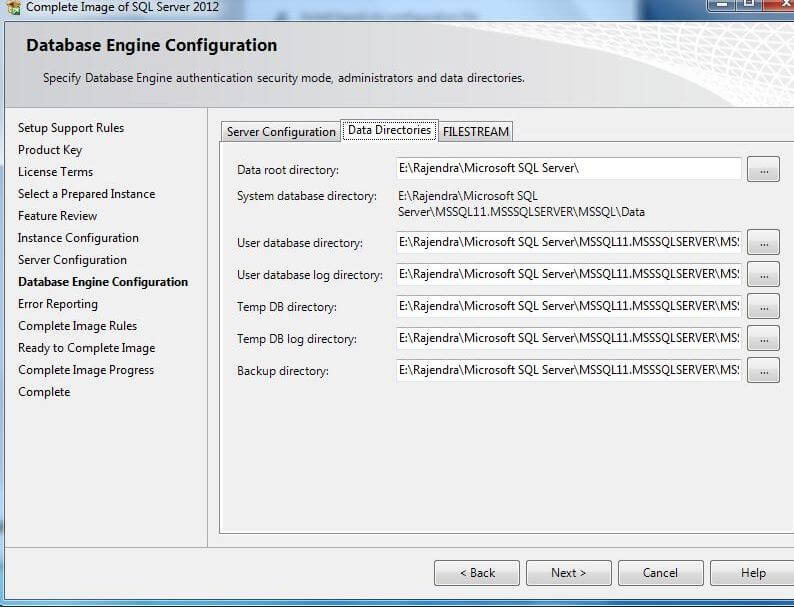
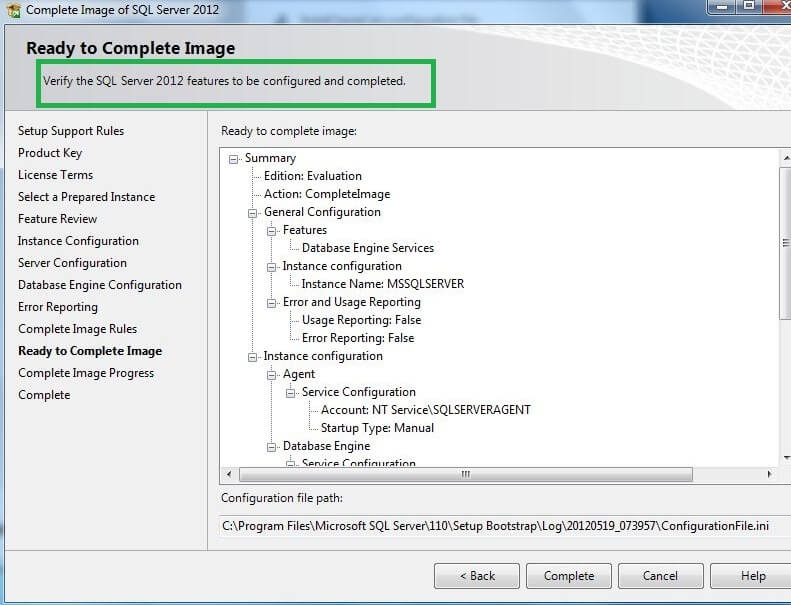
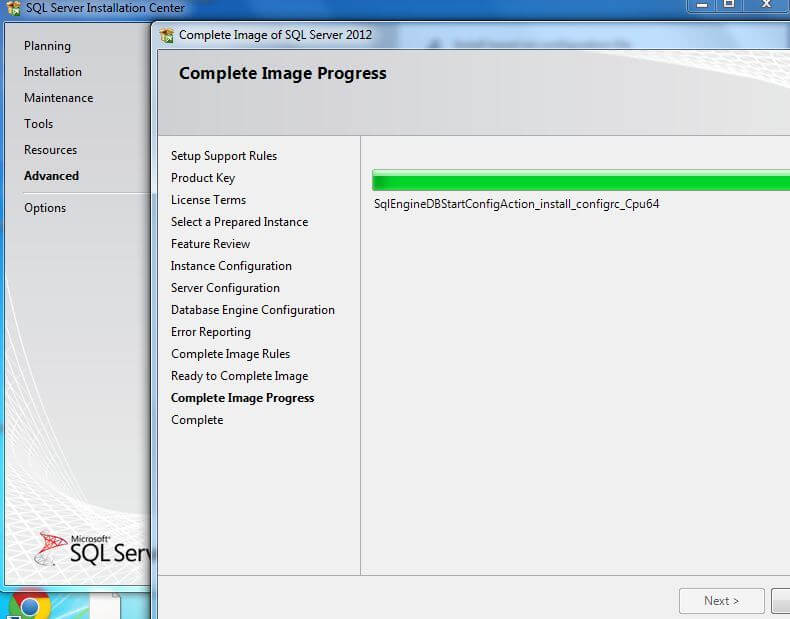
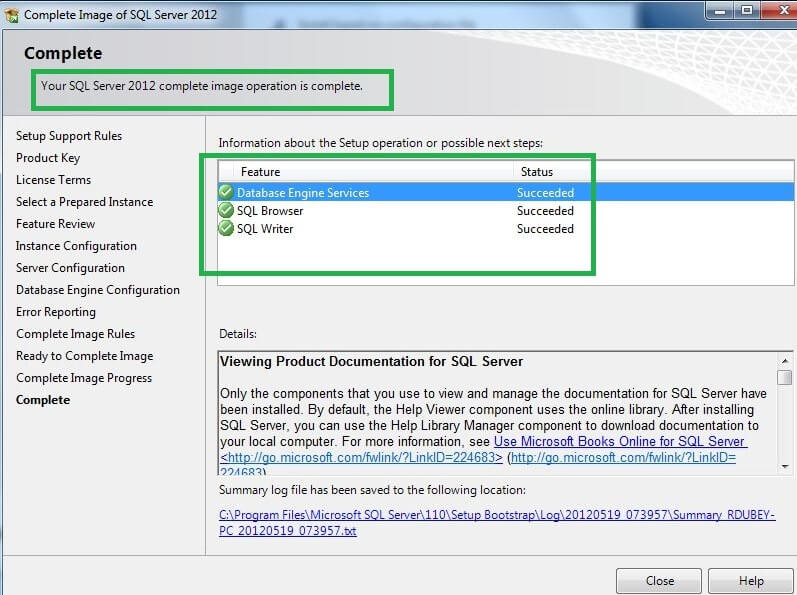
This step enables you to complete the configuration of a prepared instance of SQL Server. After this step, the instance is ready to be used.

Prepare Image for SQL Server 2012 Using SysPrep

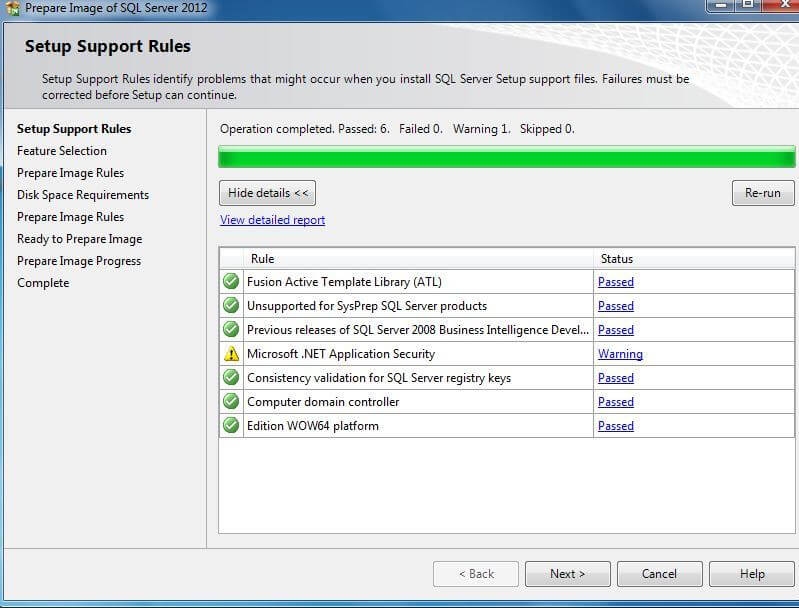
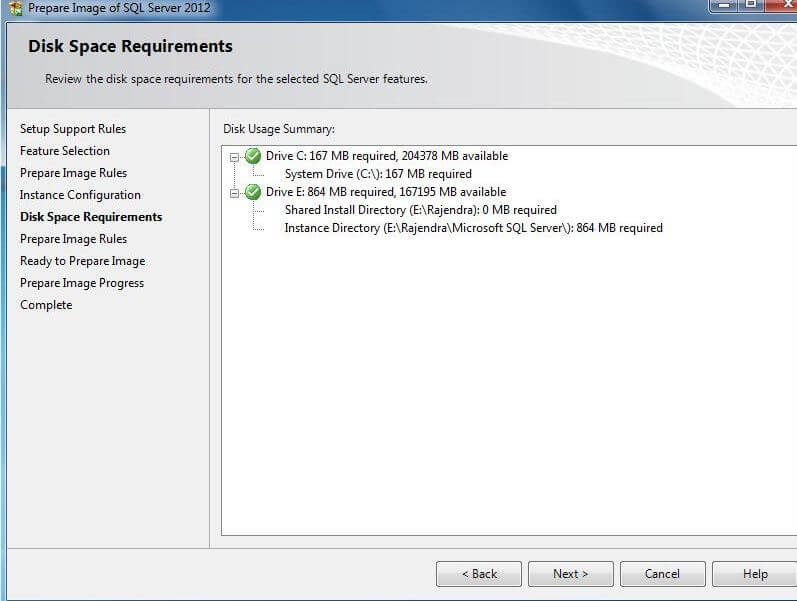
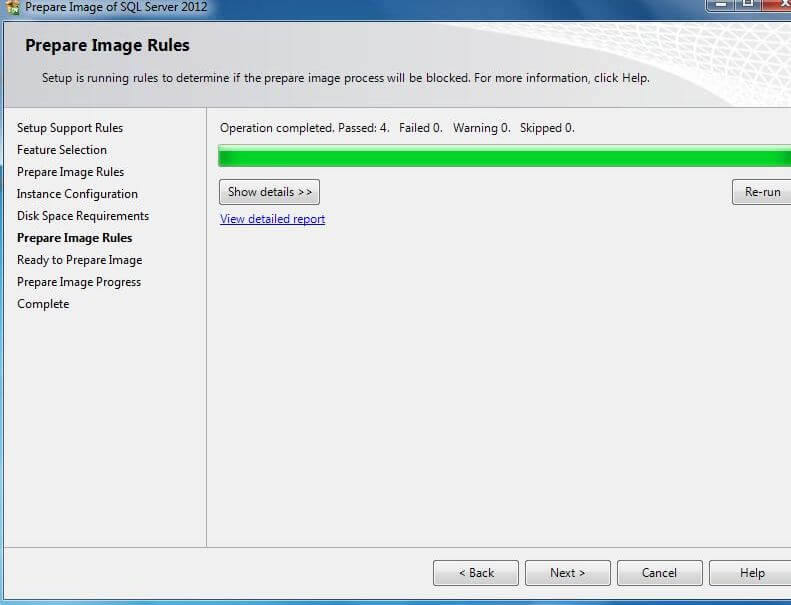
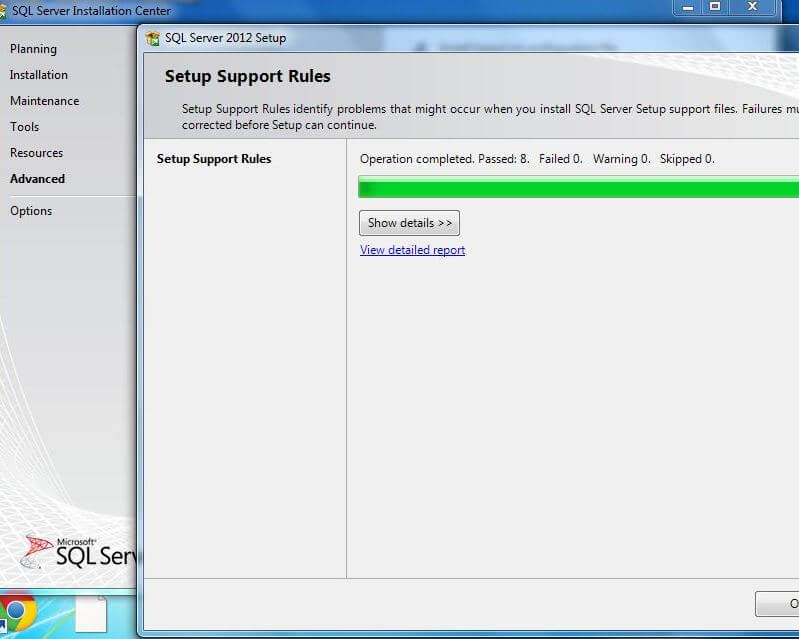
To get started, click on the SQL Server 2012 setup.exe. In the SQL Server Installation Center, navigate to the Advanced page and select "Image preparation of a stand-along instance of SQL Server". Select OK on the Setup Support Rules, if there are no errors.
Select OK on the Setup Support Rules, if there are no errors.
Accept the License Agreement and select Next.
Accept the License Agreement.
Click the Install button to install the setup files.
Click Install to install setup files.
Click Next.
Setup Support Rules
Select the features you want to SysPrep and then click Next. Observe that only the Database Engine Services, SQL Server Replication, Full-Text, and Reporting Services - Native can be installed using SysPrep. In this example we are installing the Database Engine Services only.
Select the features to Sysprep and then click Next.
Click Next.
Prepare Image Rules
Specify an Instance ID (the name of your prepared instance, the default is MSSQLSERVER) and then click Next. This name is then used during the completion stage.
Specify an Instance ID and then click Next.
Click Next on the Disk Space Requirements dialog.
Click Next on the Disk Usage dialog.
Click Next to Prepare Image Rules.
Click Next to Prepare image rules.
Click Prepare to prepare the SysPrep image.
Click "Prepare" to Prepare Sysprep Image.


Prepare Image Progress
At this point we have prepared the SysPrep image for the installation of SQL Server 2012.
At this Point we have prepared the Sysprep image for the installation of sql server 2012.

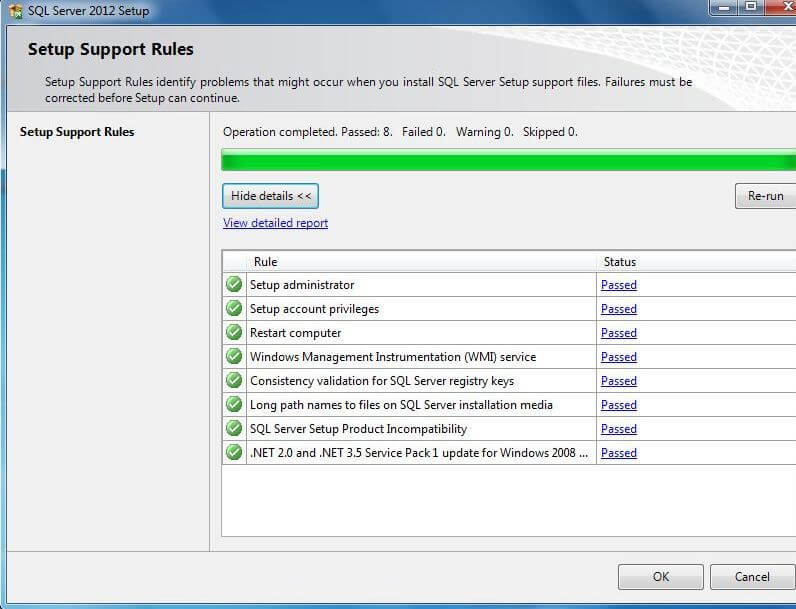
Complete Installation for SQL Server 2012 Using SysPrep

After you go through the prepare stages you will now have another option in the Start menu to complete the installation. To run the complete process, go to Start > Program Files > Microsoft SQL Server 2012 > Complete SQL Server Installation as shown below.
 Launch the “Complete SQL Server 2008 Installation” short-cut from the Start menu.
Click OK on the Setup Support Rules.
Click OK.
Click Next.
Click Next.
Specify the edition to be installed or enter a product key. This will determine which version of SQL Server is to be installed for this instance. If you use the Evaluation version this will install the Enterprise Edition which is good for 180 days.
Specify the Edition to be installed - Evaluation Edition.
Accept the License Agreement and click Next.
Accept the License Agreement and Click Next
Specify the prepared instance that we want to use for the completion and then click Next. After this is selected we can see the Features, Edition and Version for this prepared instance.
Specify the Instance ID that we want to complete or configure and then click Next.
On the Feature Review page, you will see the selected features and components included in the install during the prepare step. We cannot add more features during the Complete Phase. We need to complete the setup and then use Add Features on the Installation Center to add additional features.
Complete the setup and then use Add Features on the Installation Center.
Specify an Instance Name for this installation. This can be either a default instance or a named instance and then click Next.
Specify an Instance Name and then click next.
Specify the Service Accounts and Collation information and click Next.
Specify the Service Accounts.
Specify the Authentication Scheme - Windows or Mixed authentication.
Select the directories where SQL data files and log files will be put and click Next.
Select the directories where SQL datafiles and log files will be put up. and Click on Next.
Click Next to Complete Image Rules validation.
Click Next to Check Complete image rules validation.
Click on Complete to complete the SQL Server installation using SysPrep.
Click on "Complete" to Complete SQL Server installation using sysprep.


Complete Image Progress
Now we have a completed SQL Server 2012 installation using SysPrep.
Now we have Completed SQL Server 2012 installation using Sysprep.
Now we can connect to SQL Server 2012 using Management Studio and can work with it just like a regular SQL Server installation.
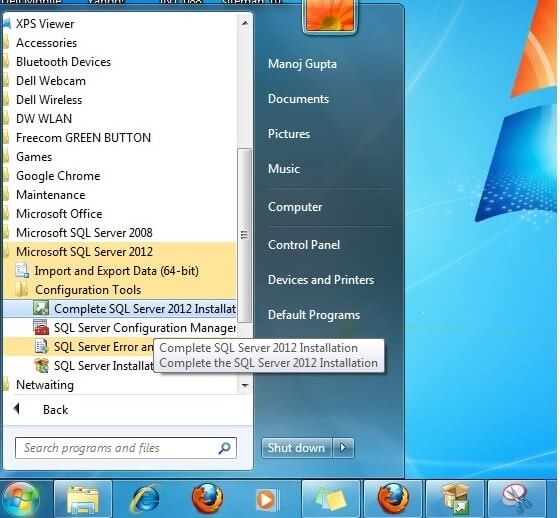
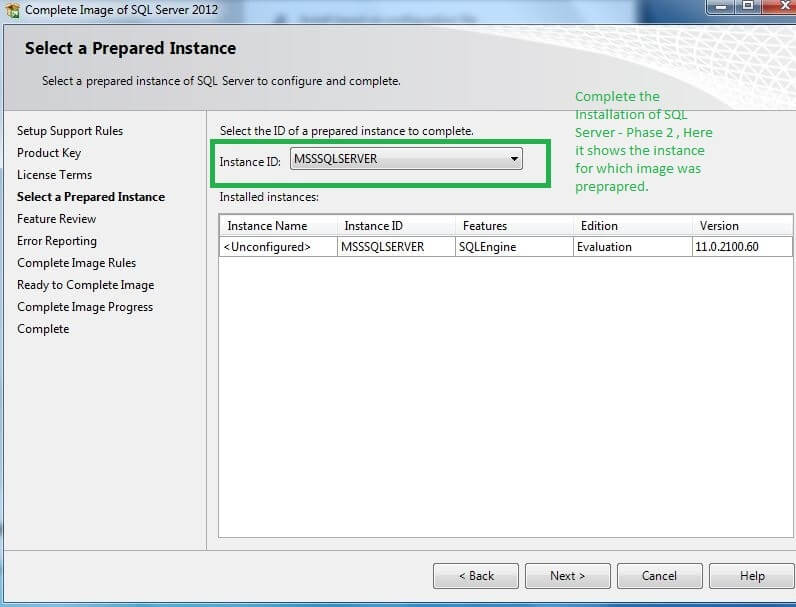
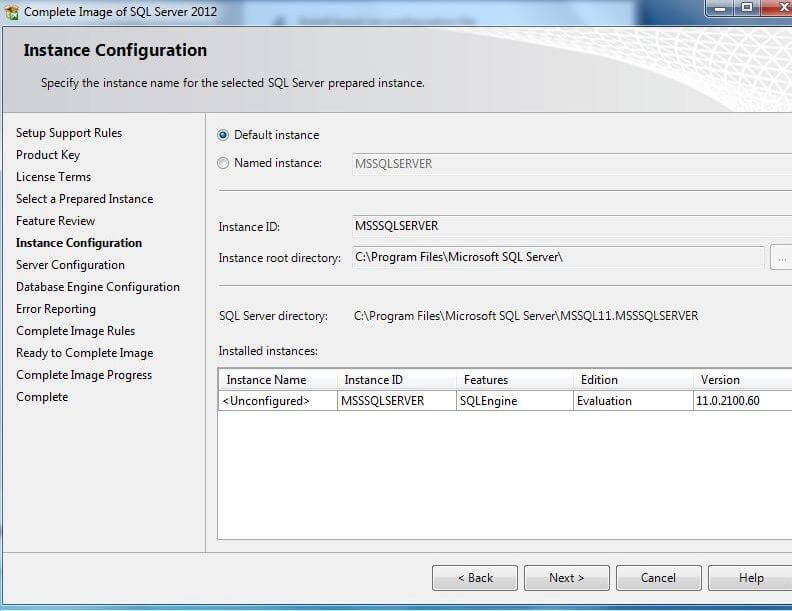
If we want to install another instance on this same server we can run through the Complete Installation steps and create a new named instance and change the parameters where needed.

Use for SQL Server SysPrep

  1. We can prepare one or more unconfigured instances of SQL Server. Each configuration can have different options.
  2. We can capture the SQL Server Setup configuration file of a prepared instance and use it to prepare additional unconfigured SQL Server instances on multiple computers for later configuration.
  3. In combination with the Windows System Preparation tool (also known as Windows SysPrep); we can create an image of the operating system including the unconfigured prepared instances of SQL Server on the source computer. Later on we can deploy the operating system image to multiple computers. After completing the configuration of the operating system, we can configure the prepared instances by using the Complete Image step for the SQL Server setup.

Limitations

  1. Only the database engine and reporting services are supported by SysPrep.
  2. It cannot be used for clustering
  3. It is not supported on IA64 system or supported in WOW64.
  4. The installation media needs to be available when preparing an image and configuring the image. When using SysPrep for SQL Server Express, we need to extract the files to the local machine before preparing the image.

Next Steps

1 comment: